


I used to think a good pedicure meant going to a salon. But after years of trial and error at home, I’ve realized that with the right supplies and a simple routine, you can achieve salon‑quality results in your own bathroom. No appointment needed. No waiting. Just soft, smooth, beautifully polished feet whenever you want.
Here’s everything you need to know to give yourself a successful home pedicure.
Essential Pedicure Supplies: What You’ll Need
Before you start, gather these items. Most are inexpensive and last for many uses.
Foot basin or large tub – Big enough for both feet to soak comfortably. A plastic basin works fine.
Epsom salts – Soothes tired muscles and softens hard skin. A quarter cup is plenty.
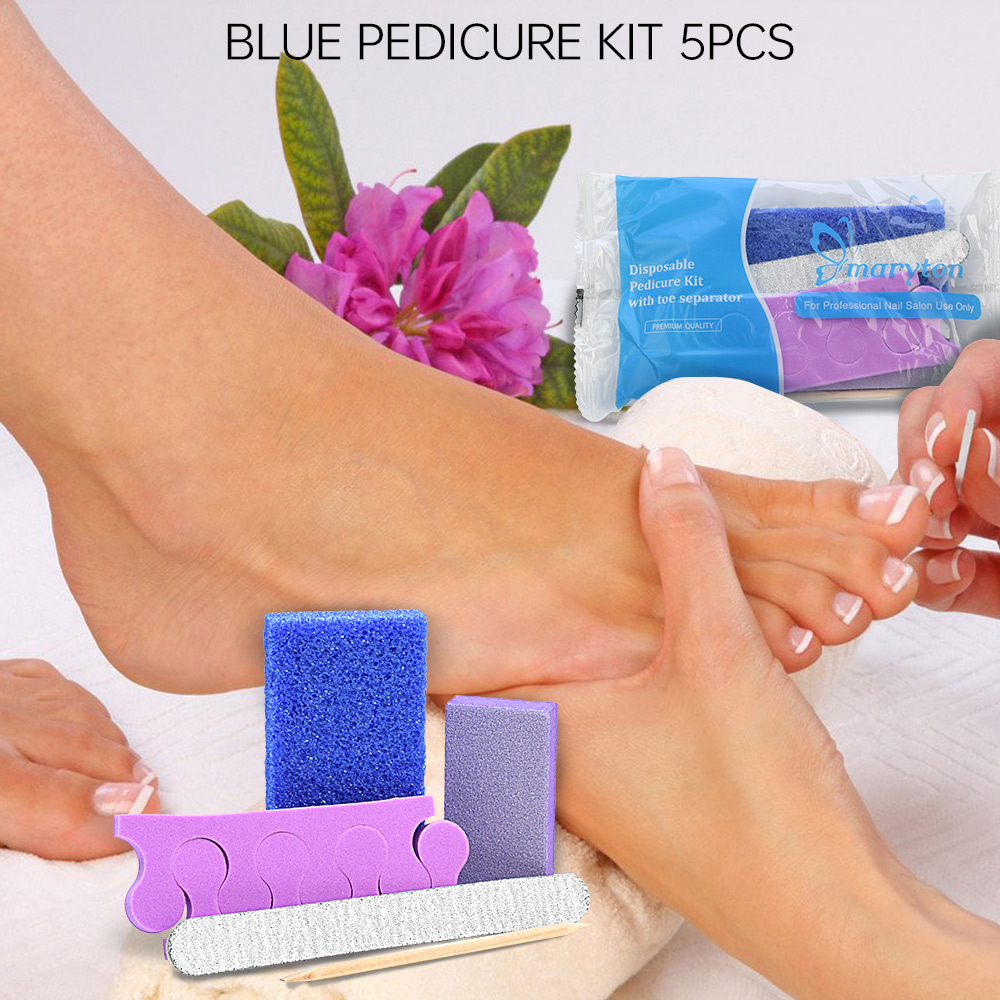
Pumice stone or foot file – For exfoliating rough heels and calluses. Choose a double‑sided file (coarse and fine) for versatility.
Nail clippers – Straight‑edge clippers designed for toenails. Never use fingernail clippers—they’re too weak.
Nail file – Medium grit (180‑240) for shaping. A glass or metal file lasts longer than emery boards.
Cuticle pusher – Metal or wooden. Wooden sticks (orangewood) are gentler and disposable.
Cuticle nippers – Only for trimming loose, dead skin. Sharp and high‑quality only.
Toe separators – Foam or gel wedges that keep toes apart while polishing.
Foot scrub – Optional but nice. Look for a scrub with coarse grains (sugar or salt) in a moisturizing base.
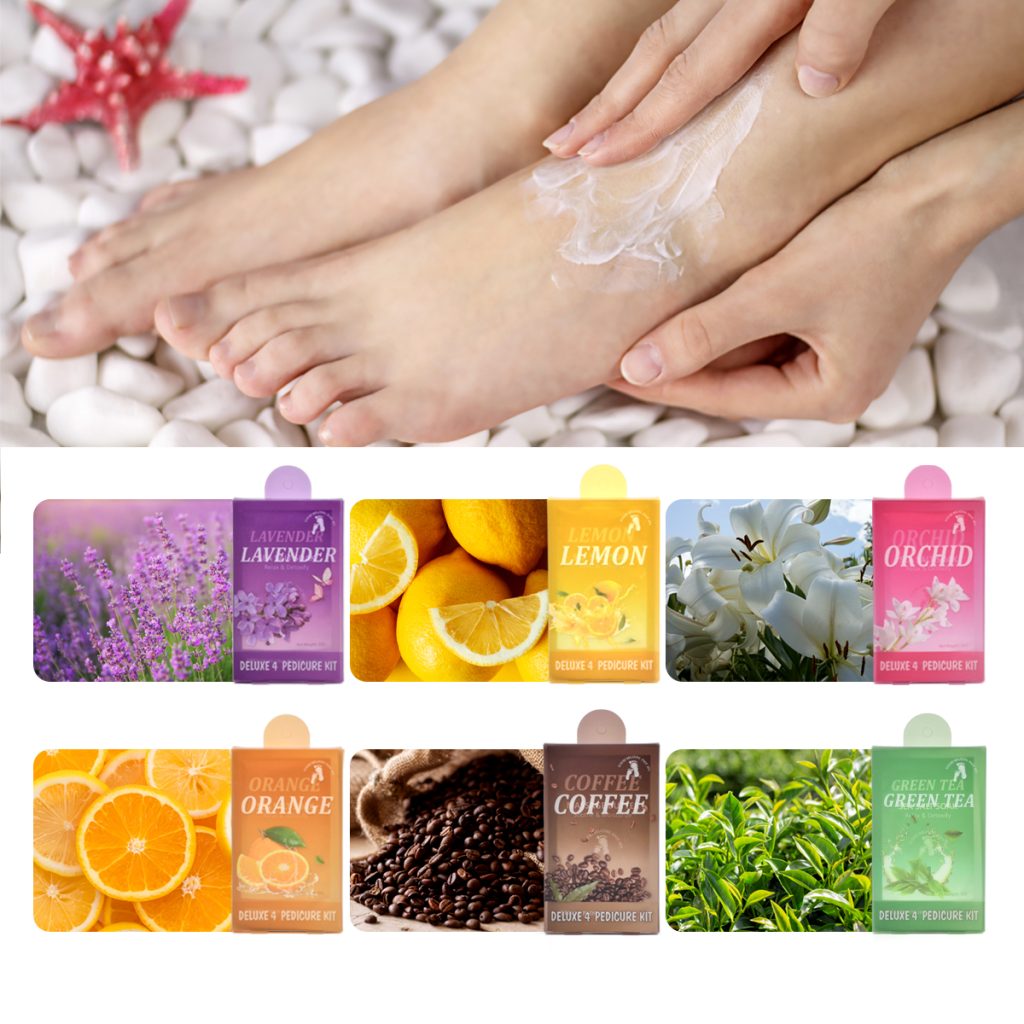
Rich foot cream – Thicker than hand lotion. Look for ingredients like urea, shea butter, or glycerin.
Cuticle oil – For hydration after the pedicure.
Towels – Two: one for the floor, one for drying.
Polish supplies – Base coat, color, top coat, and lint‑free wipes with rubbing alcohol for prepping nails.
Step‑by‑Step Home Pedicure
Step 1: Set Up Your Space
Choose a comfortable chair where you can sit with your feet flat on the floor. Place a towel under the basin to catch drips. Fill the basin with comfortably warm water—test with your elbow, not your foot. Add Epsom salts and swish to dissolve.
Step 2: Soak Your Feet
Soak for 10‑15 minutes. Not five (skin won’t soften enough) and not twenty (over‑softened skin becomes mushy and harder to exfoliate). Use this time to relax. Read a book, listen to music, or just breathe.
Step 3: Exfoliate Rough Skin
Remove one foot from the water and pat it dry. Using your pumice stone or foot file, gently work on the rough areas:
- Heels
- Outer ball of the foot
- Sides of the big toe
Use light pressure and small circles. Pink means stop – if you see pink or feel pain, you’ve reached living tissue. Rinse the foot, then repeat on the other foot.
If you have a foot scrub, apply it in circular motions now, then rinse.
Step 4: Tend to Toenails and Cuticles
Trim nails straight across – never curve the corners. This prevents ingrown toenails. Leave a tiny sliver of white; cutting too short invites pain and infection.
File edges smooth – file in one direction only to avoid splitting.
Push back cuticles – use your pusher at a 45‑degree angle. The tool should glide; if it resists, soak longer.
Trim only dead skin – use nippers only on loose, detached skin flaps. Never cut living cuticle – it invites infection.
Clean under nails – use the pointed end of your pusher or an orangewood stick.
Step 5: Moisturize Generously
This step is non‑negotiable. Apply a thick layer of rich foot cream to both feet. Massage it in thoroughly, paying extra attention to heels and the balls of your feet. Work the cream between toes but don’t overdo it – excess moisture there can encourage fungus.
Apply cuticle oil to each toenail and massage in.
For an intensive treatment, put on cotton socks after applying cream and leave them on overnight. Your feet will feel transformed by morning.
Step 6: Apply Polish (Optional)
If you want color, now’s the time.
Prep nails – wipe each toenail with rubbing alcohol on a lint‑free wipe to remove all oil and cream residue.
Use toe separators – these keep toes apart and prevent smudging.
Apply base coat – thin layer, cap the free edge. Let dry.
Apply color – two thin coats are better than one thick coat. Let dry between coats.
Apply top coat – seal everything and cap the free edge again.
Wait – give your toes at least an hour before putting on socks or shoes.
Pro Tips for a Truly Successful Pedicure
- Don’t rush the soak. Ten to fifteen minutes is the sweet spot for softening without over‑softening.
- Change the water if it cools. Warm water is key to comfort and effective exfoliation.
- Use a separate towel for feet. Don’t use the same towel you use for your hands or body.
- File before soaking? Some experts say file nails before soaking because wet nails are softer and can tear. But for cuticle work and exfoliation, soak first. If you file after soaking, be extra gentle.
- Moisturize daily between pedicures. Feet have few oil glands. A quick application of foot cream after your daily shower keeps them soft.
Common Mistakes That Ruin a Home Pedicure
Soaking too long – over‑softened skin becomes difficult to exfoliate and can tear.
Over‑exfoliating – aggressive filing creates sore spots and can actually stimulate thicker callus regrowth.
Cutting cuticles – this is the #1 mistake. Push, don’t cut.
Rounding toenails – always cut straight across to prevent ingrown nails.
Skipping moisturizer – exfoliation removes dead skin; moisturizer keeps new skin soft. Both are essential.
Using hand lotion on feet – hand creams aren’t thick enough. Use a foot‑specific product.
How Often Should You Do a Home Pedicure?
For maintenance, once a week is ideal. This prevents calluses from building up, keeps nails in good shape, and maintains soft skin year‑round. If your feet are particularly dry or you’re preparing for sandal season, you can do it twice a week – but don’t over‑exfoliate. Gentle, consistent care beats aggressive sessions.
When to Skip the Home Pedicure
Some situations require a podiatrist, not a DIY session:
- Ingrown toenails that are painful or infected
- Thick, discolored, or crumbling nails (possible fungal infection)
- Open sores or wounds on feet
- Severe cracked heels that bleed
- Diabetes or circulation problems (consult your doctor first)
The Bottom Line
A successful home pedicure doesn’t require expensive equipment or professional training. It requires the right supplies and a simple, consistent routine. Soak, exfoliate, trim, moisturize – that’s the core. Add polish if you like, but even without color, your feet will feel softer, look better, and thank you every time you slip into sandals.
Your feet carry you everywhere. Giving them this small ritual once a week isn’t pampering – it’s respect.
Read also: Chrome Nails: The Pocket-Sized Mirror for Your Fingertips