

I used to think a proper pedicure required a salon appointment. Then I spent a year working from home and decided to figure out how to do it myself. Now I can confidently say that a professional-quality pedicure is absolutely achievable at home—with the right pedicure kits, a little patience, and a consistent routine. Here is everything I have learned about keeping my feet soft, healthy, and beautiful without leaving the house.
Essential Tools and Products for a Home Pedicure
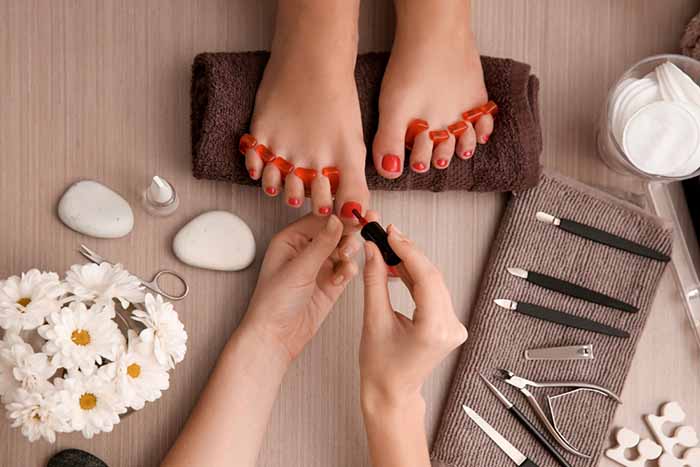
Before you start, gather the right supplies. Using the wrong tools is the fastest way to damage your feet or create more work for yourself.
A foot basin or large tub. Big enough for both feet to soak comfortably. A basic plastic basin works fine.
Epsom salts. Soothes tired muscles and softens hard skin.
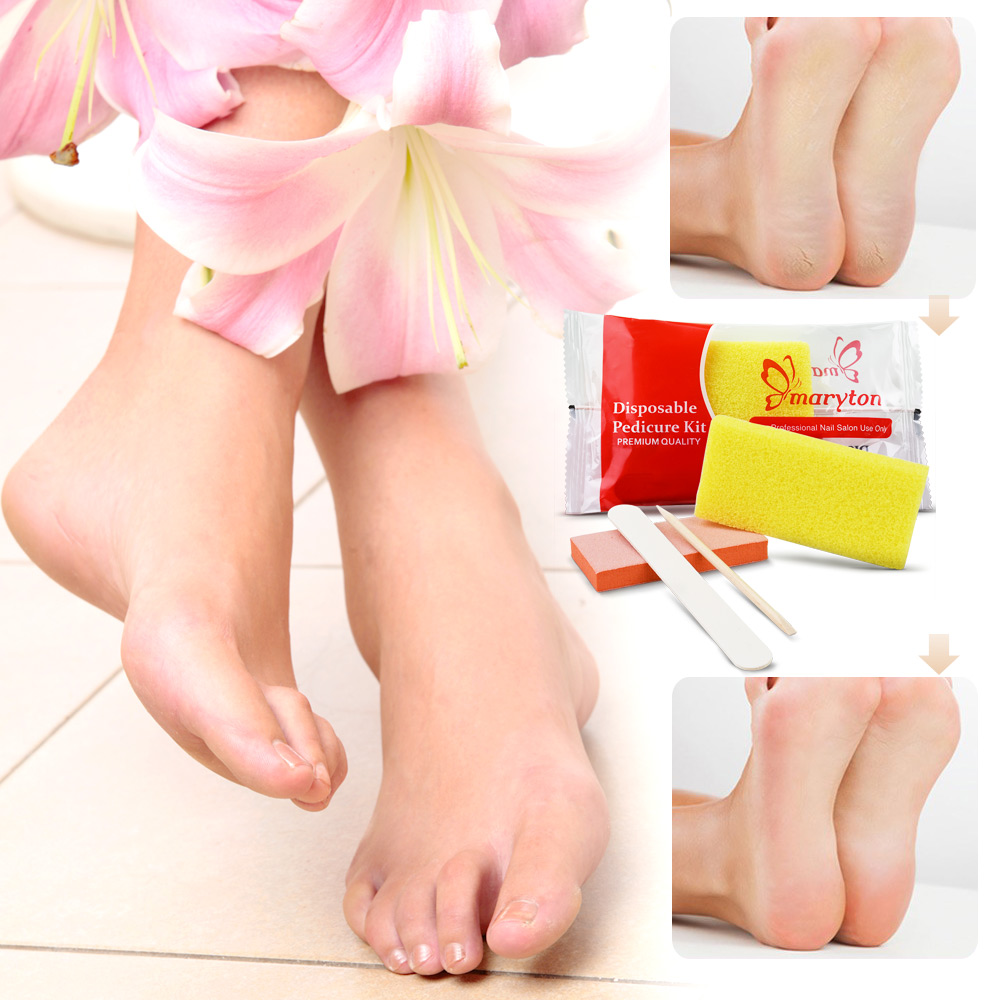
Pumice stone or foot file. For exfoliating rough heels and calluses. Choose a double-sided file (coarse and fine) for versatility.
Toenail clippers. Straight-edge clippers designed for toenails. Never use fingernail clippers—they are too weak.
Nail file. A fine-grit file (180-240) for shaping. A glass or metal file lasts longer than emery boards.
Cuticle pusher and nippers. A wooden stick or metal pusher for pushing back cuticles. Nippers should only be used for loose, dead skin.
Rich foot cream. Thicker than hand lotion. Look for ingredients like urea (10-20%), shea butter, or glycerin.
Cuticle oil. For hydration after the pedicure.
Towel. Two, actually: one for the floor, one for drying.
Optional but helpful: A foot scrub, toe separators, and a nail brush.
Step-by-Step: The Professional DIY Pedicure
Step 1: Set up your space. Choose a comfortable chair where you can sit with your feet flat on the floor. Place a towel under the basin to catch drips. Fill the basin with comfortably warm water—test with your elbow, not your foot. Add Epsom salts and swish to dissolve.
Step 2: Soak your feet. Soak for 10-15 minutes. Not five (skin won’t soften enough) and not twenty (over-softened skin becomes mushy and harder to exfoliate). Use this time to relax.
Step 3: Exfoliate. Remove one foot from the water and pat it dry. Using your pumice stone or foot file, gently work on rough areas: heels, the outer ball of the foot, and the sides of the big toe. Use light pressure and small circles. Pink means stop—if you see pink or feel pain, you have reached living tissue. Rinse, then repeat on the other foot.
Step 4: Tend to toenails and cuticles. Trim nails straight across—never curve the corners. This prevents ingrown toenails. Leave a tiny sliver of white; cutting too short invites pain and infection. File edges smooth, filing in one direction only. Gently push back cuticles with your pusher. The tool should glide; if it resists, soak longer. Trim only loose, dead skin with nippers—never living cuticle.
Step 5: Moisturize generously. This step is non-negotiable. Apply a thick layer of rich foot cream to both feet. Massage it in thoroughly, spending extra time on heels and the balls of your feet. Apply cuticle oil to each toenail and massage in.
Step 6: Intensive overnight treatment (optional). For extra hydration, apply a thick layer of cream, put on cotton socks, and leave them on overnight. Your feet will feel transformed by morning.
Common Mistakes to Avoid in At-Home Pedicures
Soaking too long. Over-softened skin becomes difficult to exfoliate and can tear. Fifteen minutes is plenty.
Over-exfoliating. Aggressive filing creates sore spots and can actually stimulate thicker callus regrowth. Gentle, regular exfoliation beats one aggressive session.
Cutting cuticles. This is the number one mistake. Toe cuticles protect against infection. Push, don’t cut.
Rounding toenails. Always cut straight across. Curved corners become ingrown.
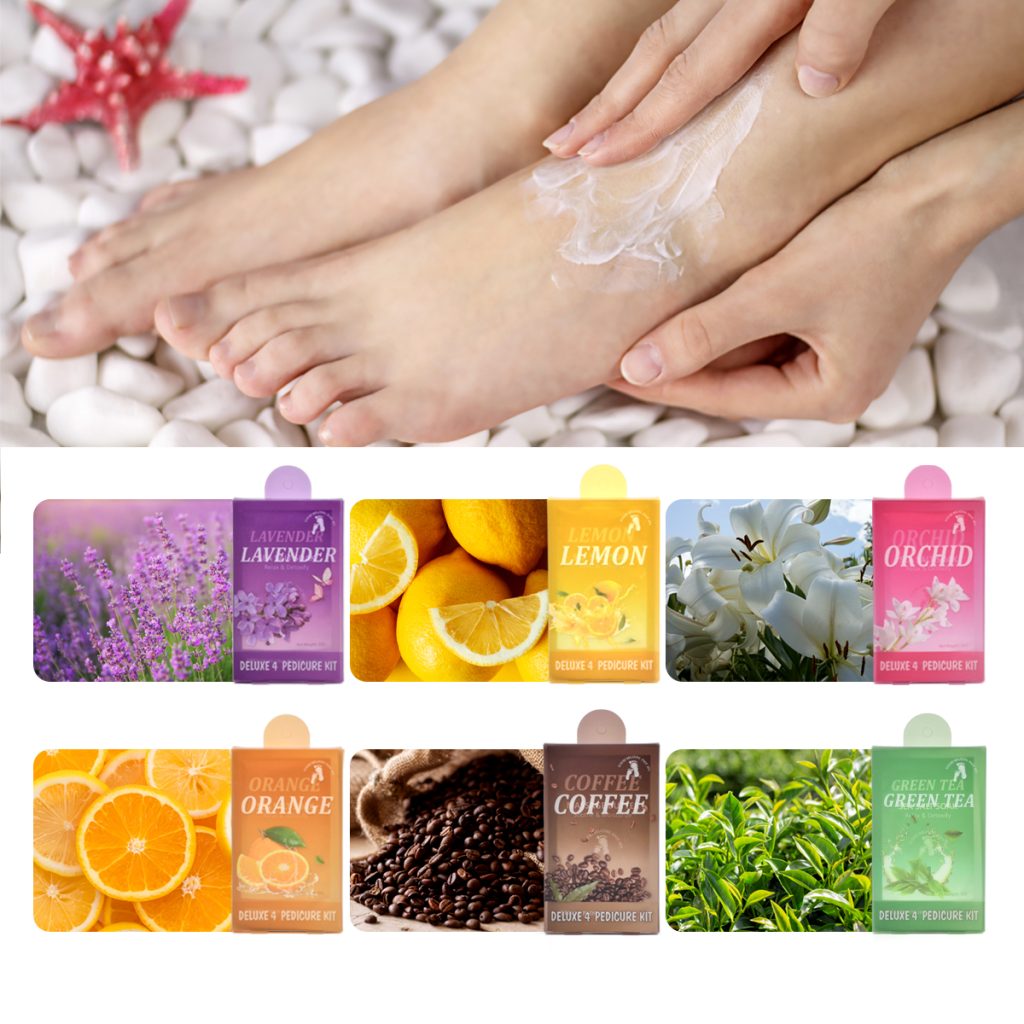
Skipping moisturizer. Exfoliation removes dead skin; moisturizer keeps new skin soft. Both are essential.
Using hand lotion on feet. Hand creams are not thick enough for foot skin. Use a foot-specific product.
Ignoring between toes. Moisture trapped between toes can lead to fungal infections. Dry thoroughly after soaking.
Using dull or dirty tools. Dull clippers crush nails instead of cutting cleanly. Dirty tools spread infection. Clean and disinfect your tools after each use.
Practical Tips for Preventing Common Foot Problems
Moisturize daily. Feet have few oil glands, so they dry out fast. Apply a rich foot cream after your daily shower.
Wear proper shoes. Shoes that fit well prevent calluses and corns. Rotate pairs so shoes dry completely between wears.
Change socks daily. Moisture management prevents fungal issues. Choose moisture-wicking materials like merino wool or bamboo.
Inspect your feet regularly. Look for cracks, redness, or changes. Early detection prevents problems from escalating.
Give your feet a break. Go barefoot when safe. Let them breathe and move naturally.
Elevate your feet. After a long day of standing or walking, elevate your feet for 10 minutes to reduce swelling and improve circulation.
Exfoliate weekly. A quick pumice session in the shower prevents buildup from getting out of control.
Keep nails trimmed. Long toenails hit the front of shoes, causing pain and potential damage.
When to Skip the Home Pedicure
Some situations require a podiatrist, not a DIY session. If you have painful ingrown toenails, thick or discolored nails (possible fungal infection), open sores or wounds on feet, severe cracked heels that bleed, or diabetes or circulation problems—consult your doctor before any aggressive foot care.
The Bottom Line
A professional-quality pedicure at home is achievable with the right tools, consistent practice, and a little patience. The core routine is simple: soak, exfoliate, trim, moisturize. Add weekly exfoliation, daily moisturizing, and proper footwear, and you will keep your feet healthy, comfortable, and beautiful all year round. Your feet carry you everywhere. Give them the care they deserve.
Read also: White Spots on Nails: What They Really Are and When to Worry
[…] Nail Stickers on Broken Nails: Protection and Gentle Reinforcement The Ultimate Guide to At-Home Pedicure: Tools, Steps, and Common Mistakes to Avoid White Spots on Nails: What They Really Are and When to Worry The Complete Guide to Home […]