

I still remember the day I broke a nail right at the sidewall, just as it had finally grown past my fingertip. It was not a clean break I could file away. It was a split that caught on everything—my hair, my clothes, even a towel. I tried to hide it with polish, but the crack kept spreading. What finally saved the nail was not a full set of acrylics or a salon visit. It was a simple nail sticker, applied with care.
Nail stickers are often seen as a decorative accessory. But for a broken nail, they can be so much more. A well-chosen sticker can protect the crack, hold the nail together, and keep it looking polished while it grows out. Here is how to use nail stickers on broken nails safely and effectively.
Why Use Nail Stickers on a Broken Nail?
A broken nail is vulnerable. The crack or split creates a weak point that can catch on fabric, tear further, and even reach the nail bed. Once the nail bed is exposed, the risk of pain and infection increases.
Nail stickers help in several ways. They cover the break, so it cannot snag. They add a thin layer of reinforcement that distributes stress across the nail. They protect the crack from water, dust, and daily wear. And they hide the damage, so you do not have to cut the nail down to nothing or feel self-conscious about your hands.
For minor cracks and splits, a gel nail sticker or a flexible adhesive wrap can act as a light splint. For deeper breaks, the sticker should be used after a proper repair—such as a tea bag patch, silk wrap, or builder gel—not as a replacement for it. Think of the sticker as a protective cover and finishing layer, not as structural glue.
How Nail Stickers Balance Protection and Beauty?
The best nail stickers for broken nails are thin, flexible, and slightly stretchy. Semi-cured gel strips are ideal because they harden under a UV/LED lamp into a durable but lightweight shield. They conform to the curve of the nail, so they do not add bulk or leverage. This is important: a thick, rigid extension can put pressure on the crack and make it worse.
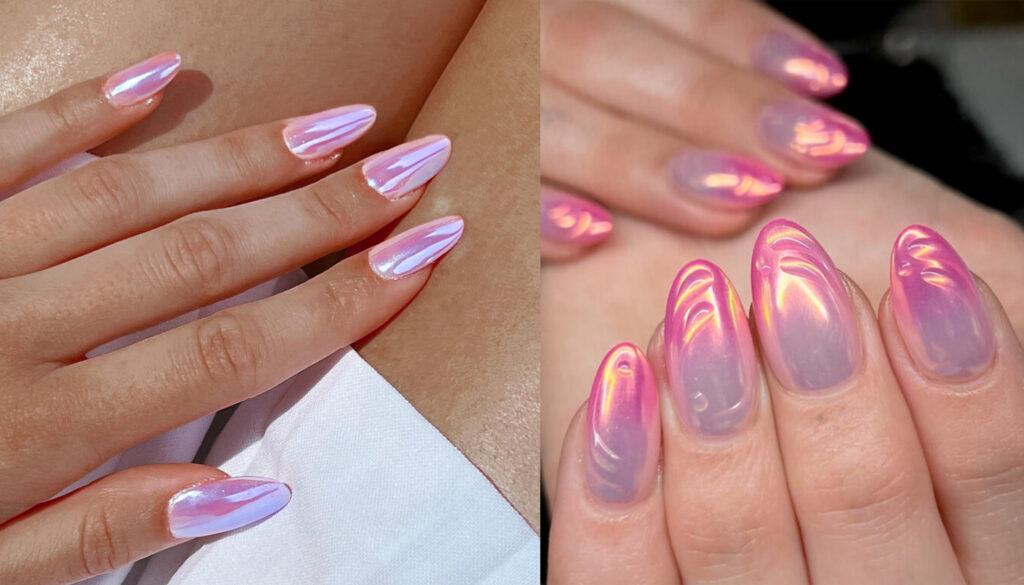
At the same time, nail stickers are available in sheer nudes, soft pinks, milky whites, and subtle designs. A sheer or nude sticker blends with the natural nail, making the repair almost invisible. A patterned sticker can turn the broken nail into an accent nail, drawing attention away from the damage. This is the balance: protection underneath, beauty on top.

How to Apply a Nail Sticker on a Broken Nail?
The key is preparation. Do not simply stick a sticker over a dirty or oily nail.
Step 1: Assess the break. If the nail is bleeding, painful, or the crack reaches the nail bed, do not cover it. Clean it, protect it, and see a professional if needed. For a minor split, proceed.
Step 2: Repair the crack first if necessary. For a small split, apply a thin layer of nail glue and press the edges together. For a larger crack, use a tea bag patch: cut a small piece of tea bag, apply glue, press the patch over the crack, and seal with another layer of glue. Let it dry completely.
Step 3: Prep the nail. Gently push back the cuticle. Lightly buff the surface to remove shine—do not over-buff. Wipe with rubbing alcohol or a dehydrator to remove oils and dust.
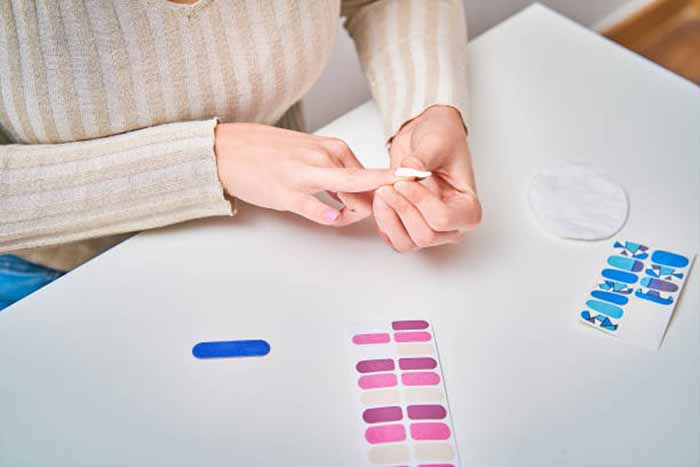
Step 4: Choose the right size. Select a sticker that matches the width of your nail. It should cover the crack and sit sidewall to sidewall without overlapping the skin. If it is too wide, trim the sides. If it is too narrow, choose a larger size.
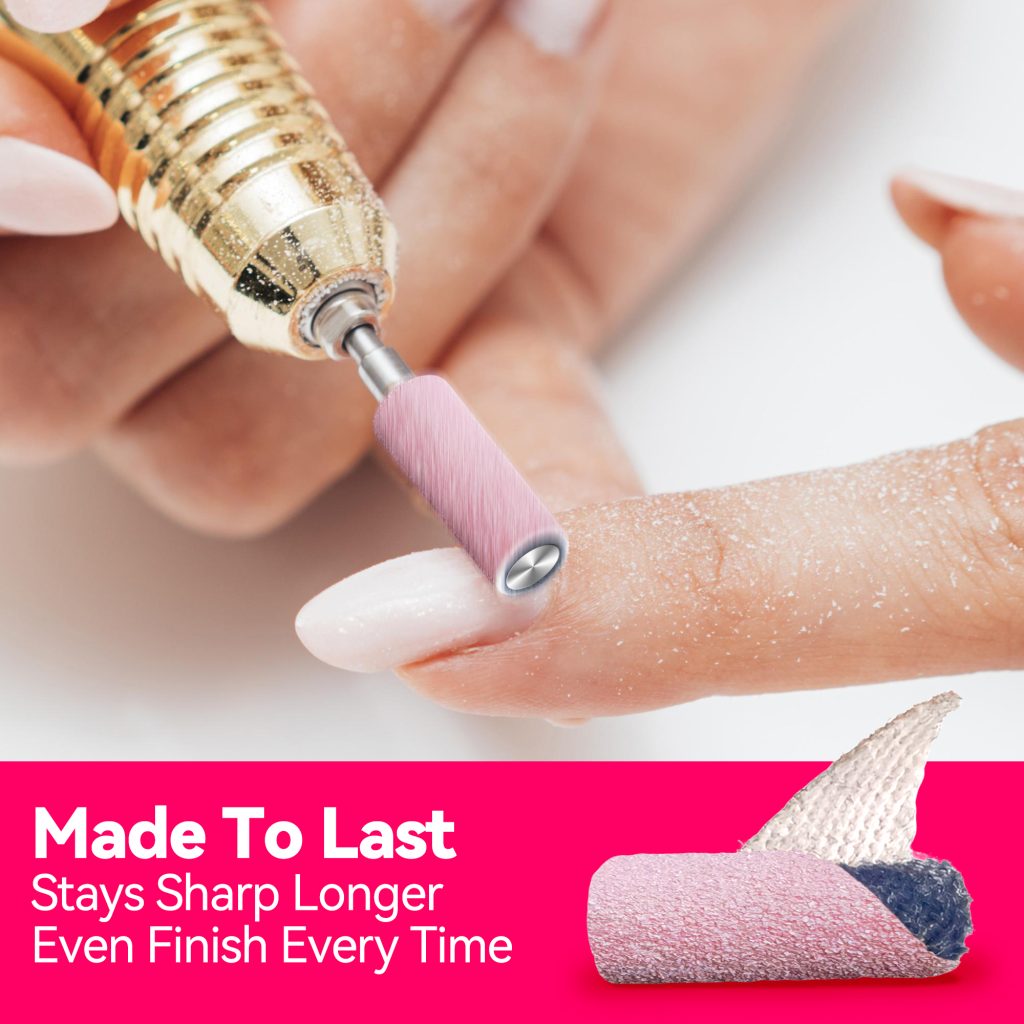
Step 5: Apply the sticker. Peel the sticker from its backing. Place it just above the cuticle and press from the center outward. Smooth out any air bubbles with a wooden stick. Fold the excess over the free edge and file it away with a sanding band.
Step 6: Cure or seal. If using a semi-cured gel sticker, cure under a UV/LED lamp. If using a regular adhesive sticker, apply a thin layer of top coat over the entire nail and cap the free edge. This seals the sticker and protects the repair.
How to Remove a Nail Sticker Without Damaging the Nail?
Removal is where many people cause damage. Never peel a sticker off dry. This can lift the repair, tear the nail layers, and reopen the crack.
For adhesive stickers: Apply cuticle oil around the edges and under the free edge. Wait a few minutes. Use a wooden stick to gently lift the sticker from the side. If it resists, apply more oil and wait. Do not force it.
For gel stickers: Apply oil or soak the nail in warm soapy water for a few minutes. Gently lift the edge with a wooden stick. If the sticker is cured hard, you may need to gently file the top layer first, then apply oil and lift. Never use metal tools to pry.
After removal, clean the nail, apply cuticle oil, and let the nail rest. If the crack is still present, re-repair it before applying a new sticker.
The Role of Nail Stickers in Reinforcement and Care
Nail stickers are not a cure for a broken nail, but they are an excellent support tool. They hold the repair in place, prevent the crack from catching and spreading, and allow the natural nail to grow out without constant trauma. They also protect the nail from water and irritants, which can weaken the repair.
For people with weak or peeling nails, gel stickers can act as a protective overlay that reduces breakage. They are lighter and more flexible than acrylics or hard gels, so they do not put stress on the nail plate. This makes them a good choice for growing out damaged nails or maintaining length after a break.
Advantages Over Other Nail Methods
Compared to acrylics or gel extensions, nail stickers are faster, cheaper, and gentler. They require no filing of the natural nail, no strong chemicals, and no long salon appointment. They can be removed at home without acetone soaking, which is kinder to the nail plate.
Compared to regular polish, stickers are more durable and provide better coverage for a crack. They do not chip as quickly and can hold a repair in place.
Compared to press-on nails, stickers are lower profile and less likely to lever the broken nail. Press-ons can catch on things and pull the nail, especially if the break is near the sidewall. A thin sticker conforms to the nail and moves with it.
The Bottom Line
A broken nail does not have to mean cutting everything down and starting over. A well-applied nail sticker can protect the crack, reinforce the nail, and keep your hands looking beautiful while the damage grows out. The key is to repair the break first, prep properly, apply the sticker smoothly, and remove it gently with oil—never by peeling. Used correctly, nail stickers are a simple, affordable, and damage-free way to care for a broken nail.
Read also: The Ultimate Guide to At-Home Pedicure: Tools, Steps, and Common Mistakes to Avoid